

Animal
Testing
Brief Notes
- For every 100g of Resin, catalyst increases by 2% , example: 100g = 2% catalyst, 200g = 4% etc....
- Resin and Catalyst are mixed together to crate a brown/grey liquid which is then applied to the fibreglass sheets
- 3 types of different fibreglass
- Dab fibreglass into mould, and apply a lot of resin to prevent airbubbles
- Use a brush to apply the resin and fibreglass
- Wear 3x gloves as resin will burn through the first layer, and to avoid fibres sticking in your hands
- Wear mask respirators to avoid inhaling toxic fumes
- DO NOT mix more than 2% catalyst with resin, as you can cause the mixture to explode and heat up too quickly
- Allow fibreglass to cure for 1/2 hours, depending on the size of the mould
Fibreglassing


Pete Tindall giving us a 45 minute session on the process of fibreglassing.
My Practical Work
Step One
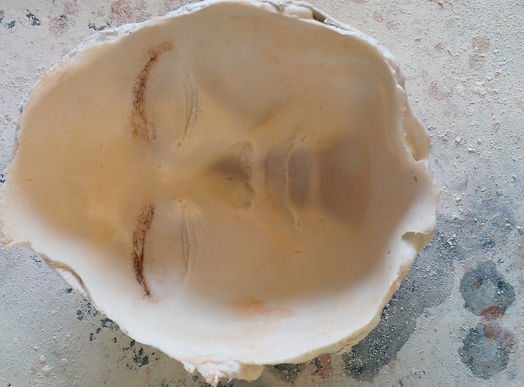
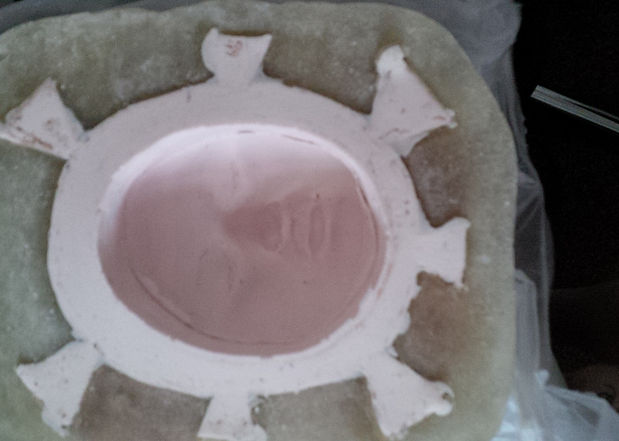
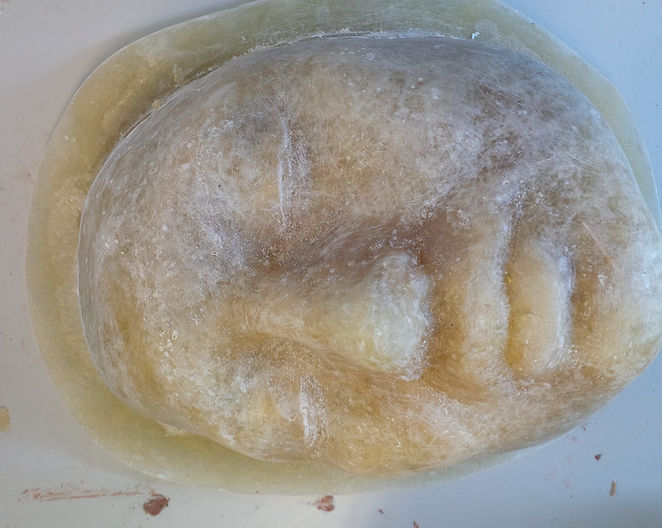
Apply alginate onto the models face to produce a face cast, then apply modrock layers on top of the outer shell of the alginate, to create a secure base.
The image on the left is the outcome of the alginate/mould.


Step Three
Wet clay is used to create a smooth/clean look around the plaster mould, and to also raise the plaster mould from the board. This creates an extension of the plaster mould.
Once the clay was perfectly placed around the plaster mould, I used a tool to perfectly position the clay and to also create a straight alignment.
The clay was then smoothed down with water.

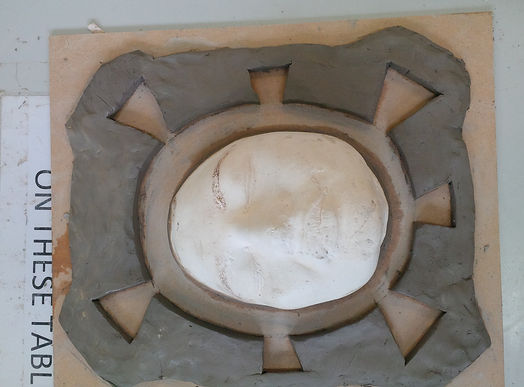
Step Four
A clay wall around the plaster mould is then built, so the silicone can fill it. The clay wall was 1 . 5 cm thick, which was reasonable. The clay was placed near to the edge of the board,


The outside triangles are key points, just to allow the silicone to run into, and help with the silicone jacket when its applied. It also helps to pull it out of the fibreglass mould.
Step Five
Mirror Glaze is then added to the board to prevent the silicone from sticking to it.


Step Six
After the previous steps, shellac was then applied several times to the plaster mould and clay to prevent the fibreglass from sticking.
2/3 layers of Shellac were painted directly onto the mould with a brush.

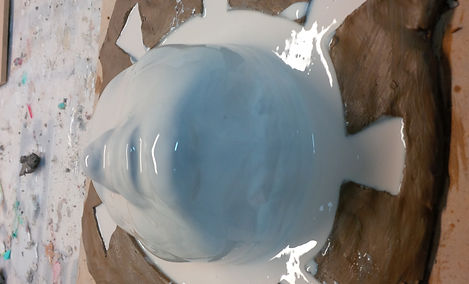

Step Seven
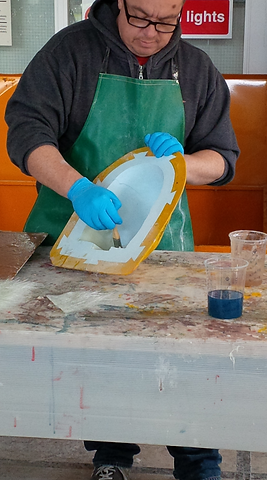
Tinsil 8030 A & B are mixed together to create the
layers of silicone. 100g of B and 10g of A were used to
apply the first thin layer on the mould, as seen in the
above images.
To the right, is the image of the Tinsil A & B.
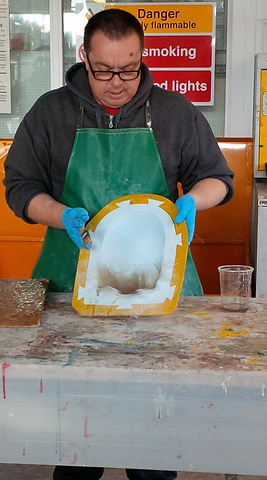
The Silicone is mixed well, and then poured over the
mould until the keys are also filled.


Step Eight
The second thicker layer of Tinsil is then added. 100g of B and 10g of A, and Thixotropic thickening agent is also added to the mixture to create the buttercream consistency. An icecube tray is thin filled with the silicone to create keys to place onto the silicone jacket.


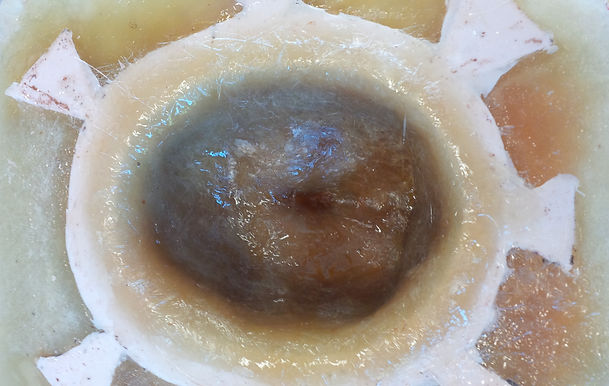
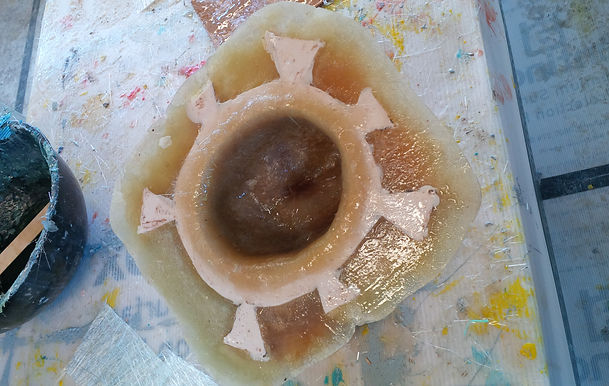
Stage Ten
After the fibreglass has cured, the board is pulled from the mould, the clay is removed from the plaster, and the plaster mould is smashed in order to get to the silicone. The above images show the process of the clay being cleaned out of the slicone mould. The recent one to the left, is the fully cleaned version before it is ready to be fibreglassed in.


Stage Eleven
A layer of gel coat is applied to the inside of the silicone until tacky, and layers of fibreglass sheets are applied directly to the silicone using the resin. 200G Resin and 4% catalyst are mixed together, and a coat of the mixture is plastered over the sheets until they are soaked. 3 layers are applied to the siicone until completely covered, and is left to dry for 2 hours, until completely cured ready for the next step.
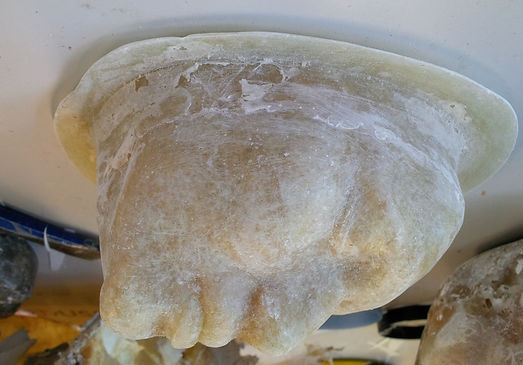
Step Two
Fill in the alginate mould with plaster and wait to dry.
Image on the right shows the outcome of the plaster mould.

Step Nine
Fibreglass is then applied to the silicone jacket and clay.
Using 200g of Resin and 4% of Catalyst, it is mixed thoroughly until the mixture turns a brown/grey colour.
The mixture is then plastered all over the fibreglass sheets until soaked thoroughly and then applied dabbing with a brush, making sure the sheets are drenched in resin.
Fibreglassing Time ....


Stage Twelve
After the cure process has finished. The mould is ready to pulled from the other mould via a chisel and some sort of wedge tool to pop it out without damaging the silicone and other fibreglass.
The result of the mould is the pictures underneath and to the left. The mould came out better than I expected, and I was doing great for time. The next stage was to file down the fibreglass edges and the face, to avoid getting cut or getting caught on any sharp edges.
Stage Thirteen
After the previous step, the mould was taken to the sanding room, and was sanded thoroughly until all the sharp edges and unecessary edges were removed, and the fibreglass mould was smooth enough to pick up and also sculpt onto.
I was extremely happy about the outcome
Finished Outcome of Fibreglass Mould, still not cured, but was given the basic idea of what it would look like if cured properly.


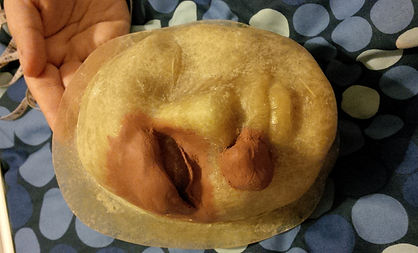


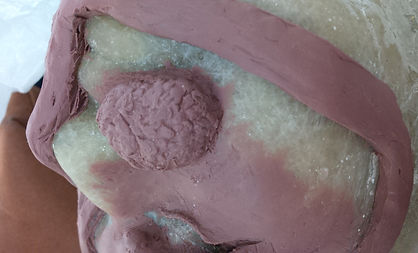


My Sculpting Work

After the fibreglassing stages, here was the outcome. The fibreglass mould was used as a base to sculpt onto. Here I started sculpting my eye and mouth piece with soft brown clay. Using my sculpting tools and fingers, I smoothed the clay out evenly on the mould, and built up the wounds using my design. I decided to go with Design One.
Here is the stages progressing as the eye piece is starting to form nicely. I tried to make the eye look as puffy as possible, trying to replicate the design images. I built up in layers, and used my sculpting tools to create the droopy eye effect. This stage is almost ready to be textured.
Using my monster makers texture pads, I chose 2 in particular that looked similar to what scab textures appear like. I pushed them in several places on the mouth piece to create a scabby looking wound, and the texture looked thorough to the design. I added subtle texture to the eyelid, but not so much texture was needed for this, as the eye surface is quite smooth due to inflammation.
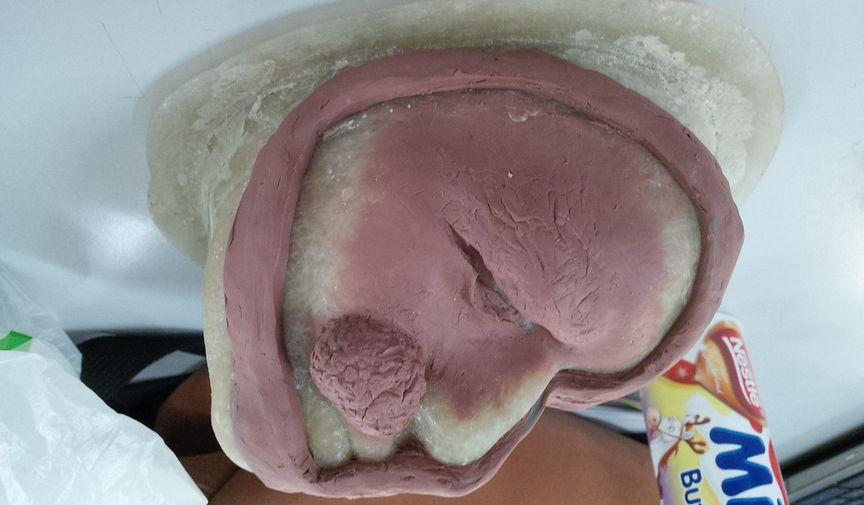
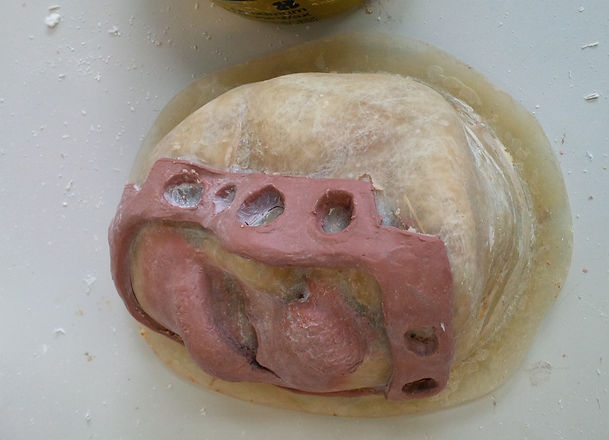
A clay wall is built around the prosthetic mould/clay mould.
Here are a few images of the clay wall almost complete around the clay mould, it's almost ready for key points.
The keys were then cut out using my sculpting tools, creating small circular cut outs. The reason for creating key points is so, when fibreglass is then built on top of this mould, it makes it easier for the fibreglass to bolt together, and also easier to come apart in the process.
After the keys/clay wall, and sculpt is complete, I then brushed talcum powder all over the clay to seal it shut, and to prevent the clay from being sticky. I then applied Mirror glaze to the surrounding exposed fibreglass that wasnt covered in clay . This Mirror glaze is a mould realease, which prevents the new fibreglass layer from sticking to the old one.
uh-oh.....
After the next step too place, fibreglass was applied to the above stage, but unfortunately I over resin-ed the fibreglass piece, which caused my mould to overheat. The mould itself was fine, but after experiencing steam coming from the top of the mould, I faced the facts that the likelihood is, my mould was ruined. I had no time to redo it, and make another, so I resorted into Plan B. It gave me the experience of making sure the next time I use fibreglass is to not only start making the mould earlier rather than later, and to also give myself enough time to be able to adjust mistakes if any occur.
How did you find using fibreglass for the first time? Any improvements?
If i am personally honest, I didn't hate it, but I did find the process of it all, quite overwhelming. I think if I gave myself enough time to experiment with it first, I would of gotten the hang of it,rather than trying to rush to get it finished in time. I did enjoy making the mould of my models face, but I didn't like the process of making the outer shell with the silicone inside of it. All that hard work seemed a bit endless. The process of fibreglass is very ongoing, and I think it took me by surprise. Next time I think I will be a bit more prepared and get stuck straight in, rather than thinking I have plenty of time to do it in.
For future improvement my goals are:
- Dont leave it til last minute
- Be prepared for mistakes
- Give myself plenty of time to make everything
- Not to rush!!
- Use my time wisely
I think all of the above pretty much come under my management skills. I did juggle a bit during my project, and I believe I was more concerned with my Blog work rather than my practical, which I believe let me down a significant amount.
