Pigs Trotters
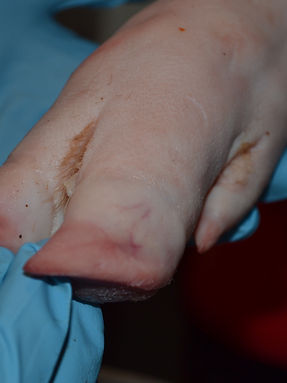
I decided to not only visualise the pigs trotters , but I thought it would be a good idea to experiment with them, and try and replicate them with various materials, the question was, what sort of material could I use, would it work? and what would the results turn out like. The excitement was endless, I had never experienced doing anything like this before, so it was fun to see what I could create.

The idea of molding the pigs trotters came to mind, to use a cheap material that I could use to mold the trotters, and repeatedly use this mold to make replicas of them, using other various materials, such as clay, resin, possibly latex. It was all a learning curve to me, so anything would of been a massive achievement.
It was also a fun way of seeing how the outcomes would turn out like. I had never experienced using a real pigs trotter before, the thought of even touching it at first was quite revolting, and I didn't like the feel of them.
The entire point of doing this, was to experiment using different materials, and to also see if would actually work. The idea of always having a replica of a pigs trotter also got me slightly excited, as in the future, it could possibly be used once again for any further experimentation.
I was excited to see what the results were going to appear like with different materials.
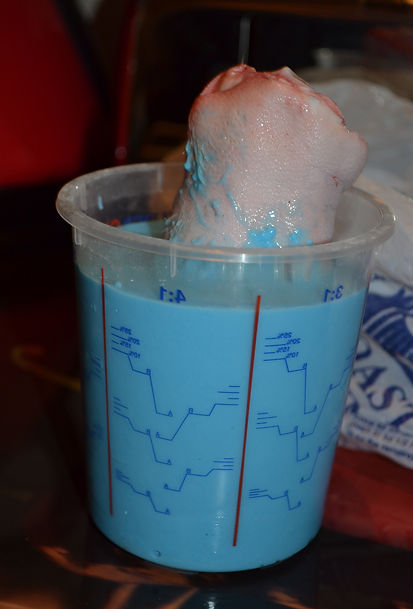
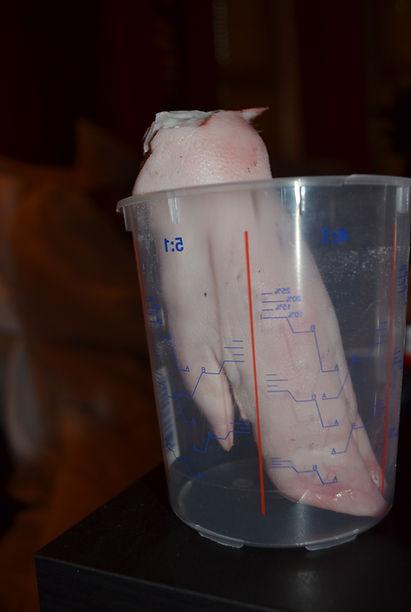

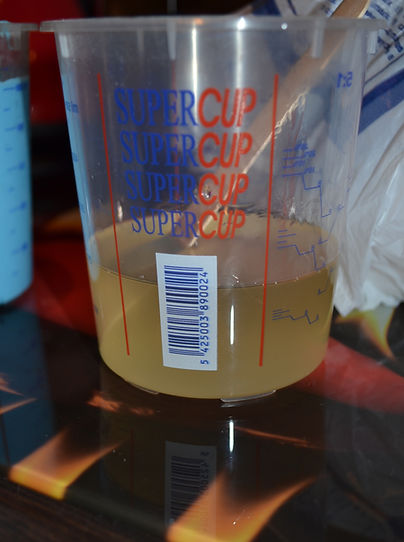







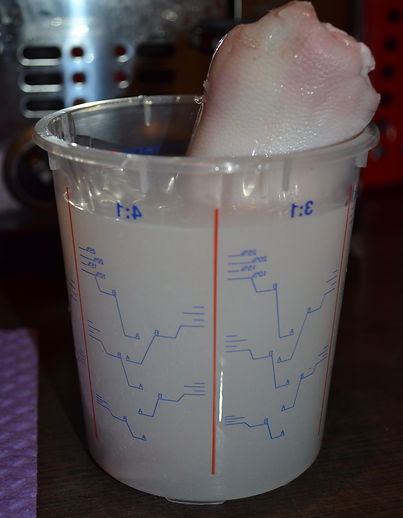
So, I got one of the good trotters, and placed it into a 1600ml measuring cup, as it has a big surface area for the material to form.
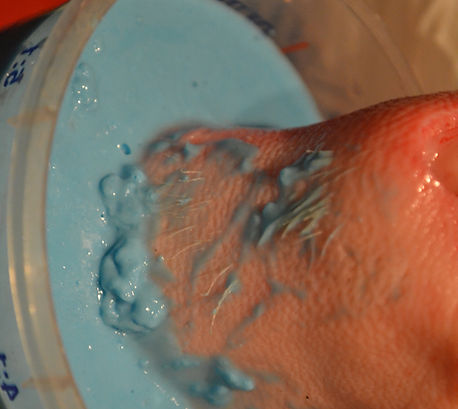
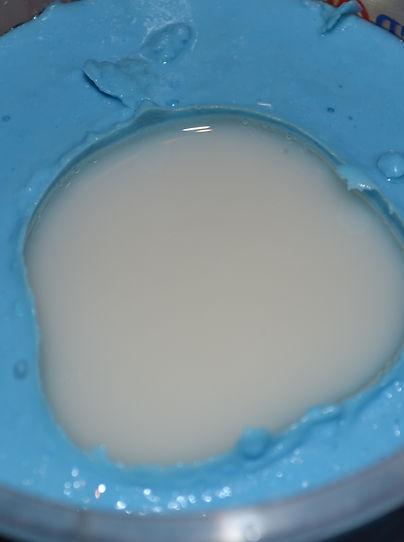
I then mixed together an equal amount of water and alginate, which was enough to fill up to where it needed to be, leaving about 1--2cm of space to pull it out afterward.
I left the alginate to cure for about 20minutes, so it was fully hardened and ready for demolding .
I then had a tough job of pulling the trotter from the mold, I would describe it like pulling a cork from a bottle, so I had to shimmy it out.
I then decided to mix together some Fencast 52 together, not knowing what the result would be. 100g of each A and B were poured and mixed.
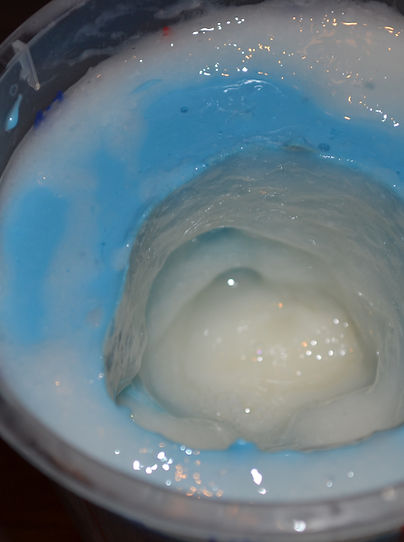
I then poured the Resin into the alginate mold, hoping for a good result.
I decided to fill the entire mold out with resin, to get a full block mold, rather than a hollow one. This was before it was cured.
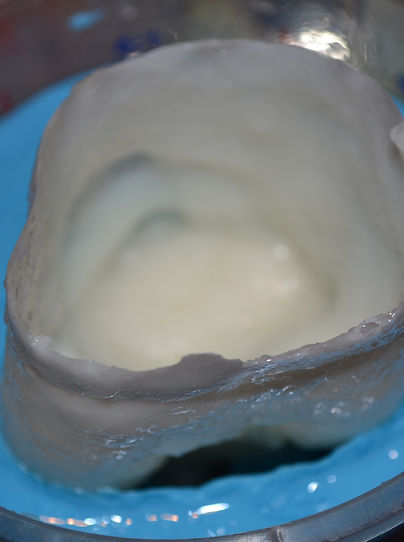
After it had cured, the resin turned like a beige/white in colour, and I left it to set for about 30mins or so, just to ensure it had fully formed.
This was the end result when I demolded it. I actually pulled it out too quickly, not knowing that the end of the mold was still soft, so the shape of the mold started drooping.
Front view of the resin hoof, so far so good, and a great experimental mold.
I got to be honest, I really enjoyed experimenting with this. I got the idea of using a cheap material first, as alginate shrinks eventually and then it can be thrown away. I thought it would be a good idea to experiment with cheap material first, just in case it didn't go to plsn, and I avoided wasting expensive material .
I think next time I should leave the resin set for a bit longer, I found the softness of the resin ( where it hadn't cured fully) just lost its shape straight away, which is what I need to avoid next time.
What did you like/dislike?
So, after learning from the mistake last time, I actually used too much resin last time, so I decided to do a 50/50 part resin of both, and mixed thoroughly.
I then liked the idea of experimenting with a hollow mold this time, to see how that would look. I did a swilling motion until the resin started to harden.
The demolding of this was really easy, and it slid out nicely. I was happy that it managed to cover the entire mold.
Close up of the resin mold being demolded.
Front view of myself pulling the resin trotter mold from the alginate mold, this looked amazing in person.
I loved how this time, the thing layer of resin managed to pick up loads of detail, and everything was formed fully.
Close up of the textures brought out from the resin.
I then decided to move to a more expensive material, and decided to use platsil Gel 00 to see what the result of this would have.
I then placed the trotter in the platsil gel an waited for it to cure.


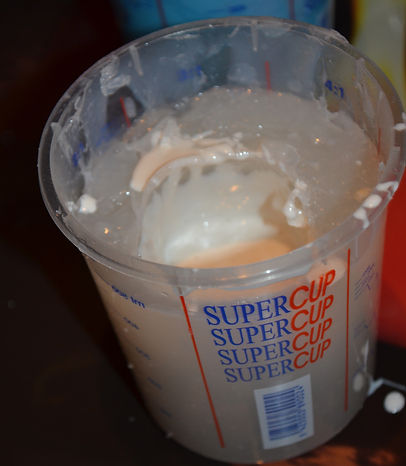

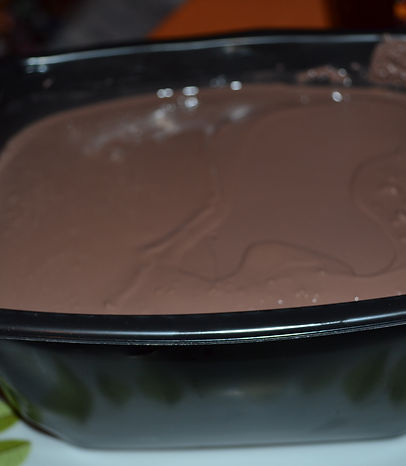
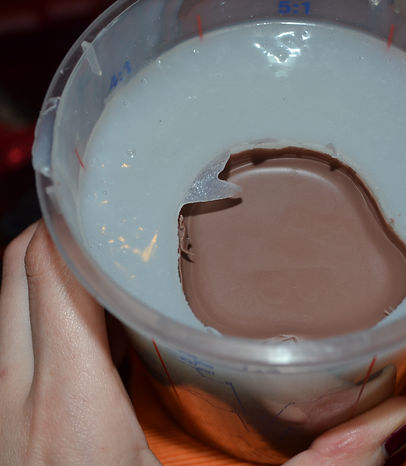
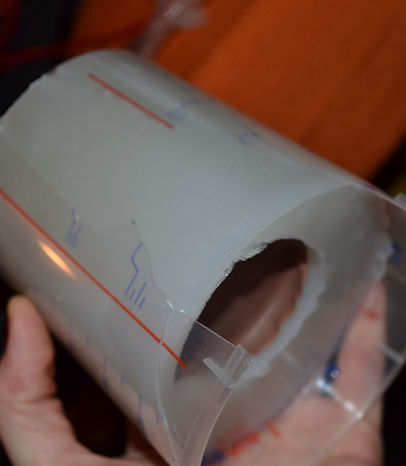
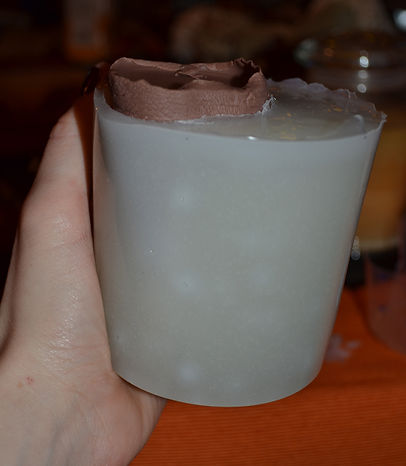


Once the platsil Gel was cured, I then pulled out the pigs trotter, with great difficulty!
At this point, part of the trotters skin came off in the mold, which was removed and washed out thoroughly.
I then experimented with Tinsil, thinking the result would turn out quite well.
The mistake I made was not putting any release inside of the mold, and when I went to demold it, the tinsil wouldn't even come away from the silicone, it had somehow formed together.
I then decided to remold another platsil Gel mold, and tried using a different material. I came up with the idea of melting some monster clay and pouring it into the mold.
As soon as the clay was poured in, the clay started cooling straight away, and then started to harden. I then put it in the fridge to fully harden it all.
I then started to cut away the measuring cup away from the platsil mold as it was impossible to pull it out.
I then started pulling it out of the platsil gel, pushing directly from underneath, and shuffling it out.
This was the outcome of the first platsil Gell mold from Clay, I was incredibly happy with this, and I loved all the textures and pore marks that it had picked up, it also gave me inspiration to see it from a different material.
I then decided to do the same, but within the alginate mold instead, to see what the result would turn out like and compare them.
And this was the end result, I didn't really like that half of the mold seemed like it had slightly collapsed, and it was deformed in places, and it didn't look as good as the platsil Gel 00. Just goes to show what the use of expensive material can turn out like.
I loved experimenting with all these different materials, and it gave me more confidence to use these materials, and to study them in different forms. I also am now able to tell what works and what doesn't work for future projects, and from a practical point of view, using and experimenting with different materials allows you to become more independant when making other prosthetics and knowing what materials could be used for that purpose. It was also a very educational experience, and I loved every minute of it. Just makes me think that I could do this with almost anything.
