Fibreglass Sculpt
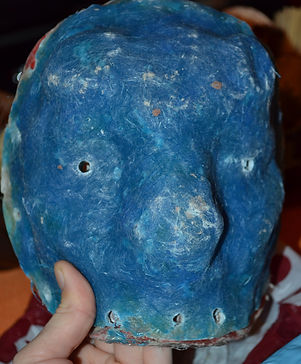
The daunting fibreglass process. My last experience with it ( at this point ) didn't go so well due to time management issues, I did make sure I had plenty of time to do the firebglass process, and had time to improve or made any adjustments if needed.
My experience this time around was quite relaxing and not rushed, unlike my previous project.
I found that this time I had to make sure it went right, avoiding making errors, and ruining a 3rd year project.
I didn't have time to be making errors, and the fact I spent so much time and effort in sculpting my piece, I didn't want that to go to waste.

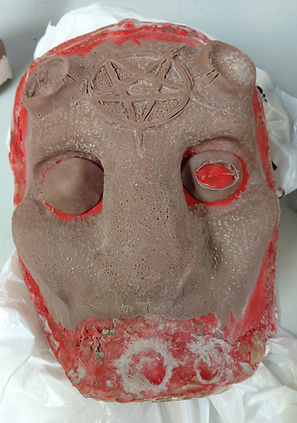


I have added key points within the eyes, I used a sculpting tool for this to ensure the edges were perfectly cut straight. I also built a clay way all the way around the clay sculpt, leaving enough room for the silicone to overflow. The problem I did encounter was, the keys on the fibreglass mold the clay was on, were made the wrong way ( which confused me ) , this basically meant the next layer of fibreglass wouldn't be able to lock in properly.
This was the first few layers of fibreglass sheets, and matting. I didn't like the fact I didn't use any pigment to make the fibreglass appear brighter. Gel coat was added beforehand, 50g Resin and 1% Catalyst. I found it difficult to get the air bubbles out here around the symbol on the forehead.


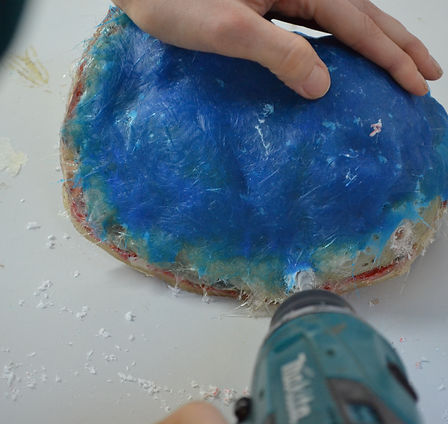










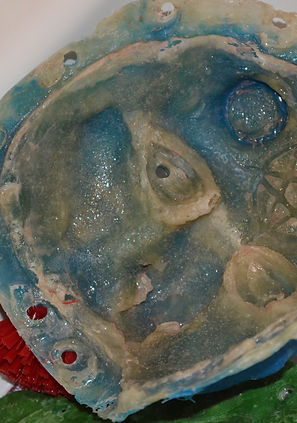
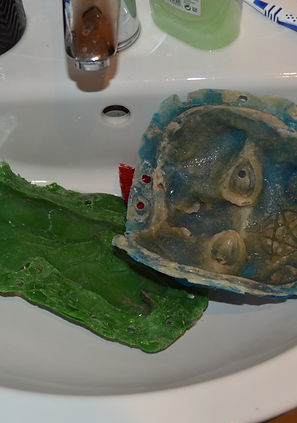


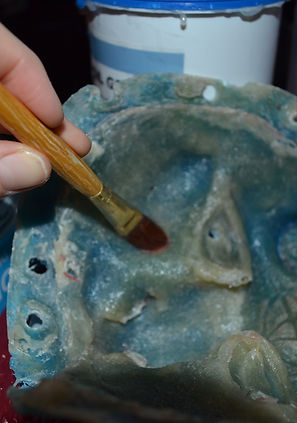
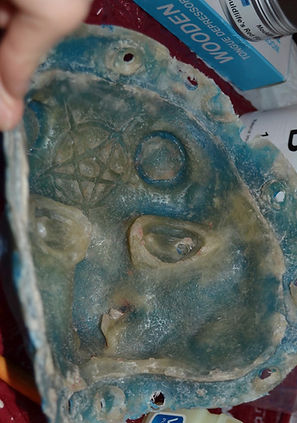


So for the last few, final layers, I decided to add a blue pigment, to make the ugly looking fibreglass a bit brighter. A simple blob of colour made the resin very vibrant and strong in appearance. I had no issues when it came to applying the matting, and bu this stage, I started feeling a bit more confident with applying fibreglass without the need to ask for help. The weather also helped with slow curing, so It didn't over cure this time around, which is already a bonus.
The finished fibreglass piece is now fully cured, and ready to be drilled. words cannot describe how happy I was at this stage, it was a massive achievement to already be this far ahead in the project, and actually have a fibreglass mold to use.
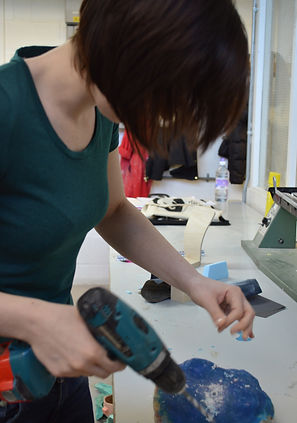
So, when I brought the fibreglass out of the fibreglass room, I took it to the workshop area, and started drilling where the key points were. It did appear hard to find as the dark colour of the blue did hide most of them, so I had to use a reference picture to guess where they were.
Close up image of myself drilling into the eye keys, the drill smoothly went straight through the fibreglass with ease.
After the eye had been done, I decided to then go to another key which was visible.
Another shot of my drilling into the bottom key. I really enjoyed using the tool.
The other eye is then drilled .
This was a close up of when the keys had all be carefully drilled into.
Image of myself having a look at the mold, and seeing whether it all looked accurate, ready for remolding.
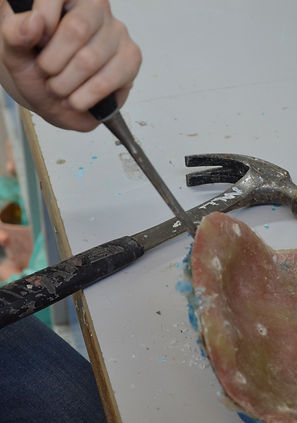
So, now it was time to de-mold the two fibreglass molds apart. I used a chisel and a hammer to wedge it open.
I then started to move the chisel up and down inside of the mold to try and wedge it open.
Close up of trying to force the two fibreglass molds apart.
Once the mold finally split apart, the clay had stuck itself to the front half of the mold, which was to be expected.
The other half of the fibreglass mold, which wouldn't of been a ploblem to clean as it didn't have any deep areas.
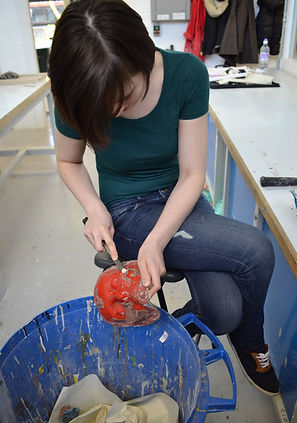
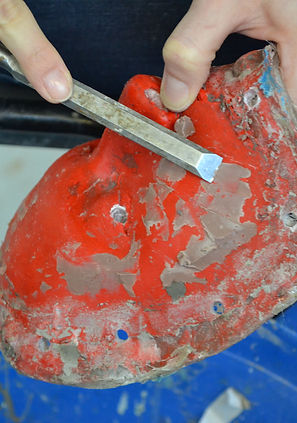
I started trying to take away the majority of the thick parts with the end of the chisel, as it acted like a spade of some sort.
Image of myself trying to peel away the clay from the fibreglass mold, it came off quite easily from the face.
At this stage, the clay is almost off of the face mold.
Now, the tough part, getting all the clay from the mold made from the clay. I started taking away thick parts again, with the chisel.
Peeling away the easy bits around the eyes, using the edge of the chisel ( the sharp bit ) , to get right in the depth of the eye area.
I held the mold itself over the bin, so all the clay just fell out, made it a lot easier for me to just scrape all the clay out.
I then tried peeling away the clay around the horn craters, as they were still buried into the mold.
Before taking it home to get the rest of it cleaned out, I took the vibrosaw to the edges of the fibreglass mold to get rid of any sharp edges that made become harmful to myself.
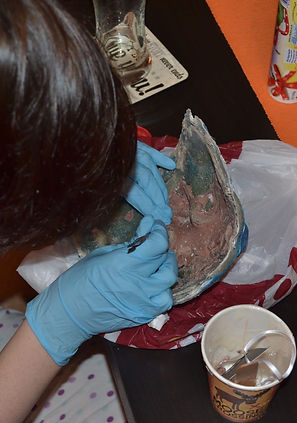
A close up of myself trying to get as much as the clay out as possible before i couldn't get any more out.
I wore gloves at this stage, one because I didn't want to get any fibreglass smelling clay on my hands, and two, because I didn't fancy catching my skin on the fibreglass.
Before taking it home to get the rest of it cleaned out, I took the vibrosaw to the edges of the fibreglass mold to get rid of any sharp edges that may of become harmful to myself. It also made it easier to work with knowing all the edges to both molds were free from an uneven surface.
I then decided to put the fibreglass mold underneath the taps in my bathroom, and use a scrubbing brush to take away any small pieces of clay left in the mold.
The two fibreglass molds from two seperate pieces.
The face fibreglass mold is all ready, and drying naturally before it is ready to be towel dried.
An overlook at the fibreglass molds ready to be filled with silicone, and surrounding materials that will be used within the process.
I then coated the face mold in vaseline, to protect the fibreglass, and to also prevent the silicone from sticking to it.
A close up of myself applying vaseline to the mold.
Vaseline being applied to the faun mold.
The completed fibreglass mold , ready for the silicone to be poured.
So, I decided to place the bolts through the eyes, to avoid the silicone from spilling out, the idea was to place the face mold on top, squash it down, and then bolt the two molds together, and wait for it to cure. I then swirled the silicone around the mold, making sure a layer of the silicone managed to get on the fibreglass.
Image of the bolts being put in place, so that the fibreglass molds are firmly clamped together.


Once the silicone had cured, it was then time to demold it again, and remove all the bolts, and wedge it apart.
Image of the mold once all of the bolts had been removed, it was a bit of a stuggle as some of the siliicone had cured around most of them, which made it hard to pull them out.
The completed fibreglass/silicone prosthetic that was ready to be pulled apart to reveal the silicone prosthetic inside.
I have to add, I was really glad my fibreglass molds turned out well this time around , I think I have made a massive achievement from my last project and for that I am really proud of myself.
The whole process was tiring but also very rewarding toward the end, and I always love using tools and anything technical. To be able to get from A to B in a matter of a few weeks is quite impressive, and for someone who hasn't actually experienced a good result like this in a while, I couldn't really fault it.
The only thing I didn't like was making the clay wall, and not being able to see where the key points were, this was because I had done them incorrectly.
There are always improvements to be made, hopefully by the next project, I will have a bit more confidence when using fibreglass, and the processes of each stage will become less confusing and more straight foward, having done it a few times already.
The more you practice, the better you become, and I think I have already seen a massive improvement, and I now feel confident in making molds to a good standard. I may even push the boundary of making an entire head mold next time.